Welcome back to our blog series on STEM and the Reggio Emilia approach! In our first blog, we covered the various components of STEM, and how it relates to Reggio Emilia (along with the values of our preschool and daycare). The realm of Science, Technology, Engineering, and Mathematics is something that continues to develop, especially in the world of education.
With both STEM and the Reggio Emilia approach, there is a strong belief in the fact that a child’s environment is crucial to their education. There is so much you can do to continue fostering creativity and critical thinking skills with your preschooler, and one of the best things involves enrolling your child with Child Time Inc. With several locations around the Salt Lake City area, you can be sure to find a location that will work best for you and your family. View our locations for The Avenues Preschool, The Second Avenues Preschool, The Eastside Preschool, and The Cottonwood Preschool, and contact us to learn about enrollment and more!
STEM Activities: A Recap
As we discussed in our first blog, STEM does not mean test tubes and baking soda volcanoes (though these are very fun activities as well). The purpose of STEM is to encourage creativity, imagination, collaboration, problem solving, and constructing one’s own knowledge. There are any number of activities you can do with your child to help foster these talents, but we’ve done our best to outline a couple that will make for great winter projects.
For STEM to truly encourage constructing one’s own knowledge, each activity is formulated around a question. These questions are essential for guiding conversation, as well as building foundational knowledge for your child. Take a look at some of the fun STEM activities you can do outside of school, and pick out some to try at home!
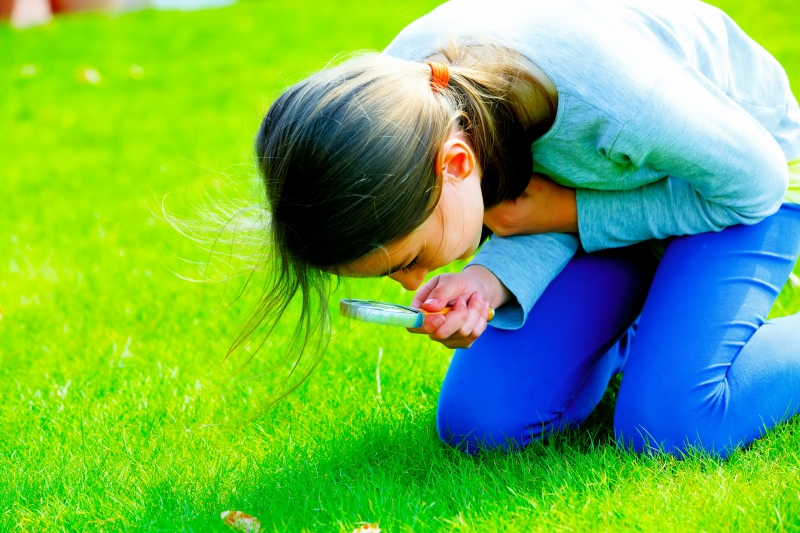
What helps a plant grow?
Especially fun for winter, this project involves helping kids figure out the best ways to help a plant grow.
Get Ready: Have a discussion with kids about a nearby plant, such as a tree or bush, and use some questions to gauge their existing knowledge on plant life. Some examples include:
- Look at that tree! Do you think it was always that size?
- What do you think it used to look like?
- What did it need to grow?
Based on your child’s understanding, check out some plant books from the local library to connect back to the activity ahead.
Get Set: Go to a local greenhouse or place to buy some seeds with your young one. Have them help choose some seeds (you might want to stick to one plant/package of seeds to start). Not only does this help get your child involved with the decision making, but they’ll also see pictures of plants to show what the plant is supposed to look like.
Other materials to get:
- Plastic or paper cups
- Soil
- Pen (if you need to mark the type of plant on the cup)
Go! Help your child set up the plants with soil, a few seeds, and some water, across several cups. Talk with them about placing them in different spots around your home—including outside! Let them play around and experiment—even if they want to put a plant in their room without any sunlight, let them try it!
Help your child writing a hypothesis (or have them dictate it to you, and you write it down) about which plant is going to grow the best. Check back in throughout the week(s) about how each plant is doing, and discuss the progress. Reflect upon the results with your child as well. Regardless if their hypothesis is correct or incorrect, remind them that in science, it’s more about finding answers and information than being right or wrong.
How can buildings be so tall?
Whether your child has grown up in the city or has simply seen pictures of skyscrapers, this activity brings out the builder and curiosity in us all.
Get Ready: Look at pictures of the biggest buildings in the world, or even talk about your house or apartment building. For some initial questions, ask the following:
- How did that building get so tall?
- What did the builders have to do to make it tall?
- How does it stay up? If it’s windy or if there’s a storm, how can it stay upright?
Watch some YouTube videos on skyscrapers (but in the spirit of STEM, avoid any architectural lessons for right now). As always, the library is an excellent resource!
Get Set: The initial stage of this STEM activity is probably best completed with some Legos or building blocks. These tactile objects are much more friendly for younger children with fine motor skills that are still developing. For more of a challenge, such as including your older child in the activity, bring in paper, glue, and scissors—though most kids (and adults!) will still love getting to work with Legos.
Go! Give your child the blocks, and say their mission is to build the biggest building possible, with one condition. A small Lego person (or if you don’t have one, another small object) needs to balance on top for 60 seconds, without falling or crashing.
Your child will quickly learn that building is more than just piling things on top of each other. Let them have a couple takes at it, and definitely measure each of their buildings! Challenge them to make one higher as you see fit, or bring back this project later on. As always, discuss the results with your child, asking what building was the highest, and why that one worked the best. What did they do differently? What would they do next time? Questions, throughout and ending the process, are a key part of constructing one’s own knowledge.
How do cars travel?
Practically every child in the US has been in a car at one point or another, so it’s no surprise that cars are the source of many questions among inquisitive toddlers and preschoolers.
Get Ready: Next time you’re in the car with your child, start talking about cars!
- How long do you think this car could go before stopping?
- What does a car need to start?
- What does a car have?
Take a moment and look at some pictures of cars, or go for a walk and look at (and point out) the different cars you see. Afterwards, get out some coloring and drawing materials, and draw some cars, pointing out similarities you see between your car and your child’s (and asking them to do the same).
Get Set: For building a car that travels, there are kits that you can definitely invest in, but you can also simplify the process as well. Gather up the following materials
- Cardboard (possibly pre-cut for younger kids, since they might struggle cutting through a thicker surface)
- Toothpicks
- Glue (you might also have to help them, or have your child instruct what they want glued together)
- Round objects—buttons, marbles, bottle caps, anything you can think of! But make sure there’s multiple of the same object as well.
Go! Give your kids an amount of time to build a car, with the goal or making it travel. Help them as necessary for the construction part, but as they are able and capable, let them have at it! After they build their car, practice getting it to roll—it might not happen right away, but that’s OK! Talk about adjustments that could be made, and after a couple instances of trial and error, they’ll get it down.
As one note, always look for signs of frustration. If kids are starting to get upset, take a break, take a breather, work through it, and revisit the project at another point in time. Part of learning problem solving involves learning to work through frustration, and this is an important step in the process.
As always, you can rely on the daycare and preschool professionals at Child Time Inc. to provide your kids with the tools they need to be successful. We are focused on providing educational excellence to help your children grow, in multitudes of academic and socio-emotional ways. Contact our schools today to learn more about enrollment!